1. First Step
The first step prepares the app for the correct device, region, and user access.
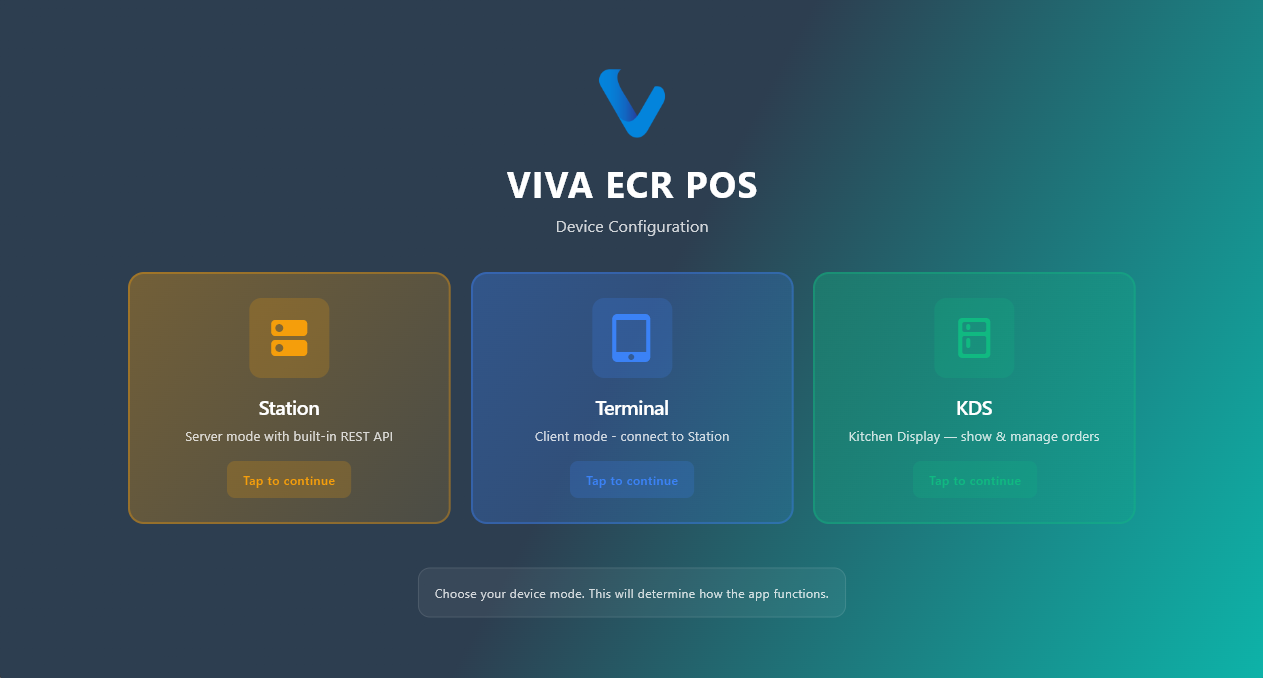
1.1 Device Selection Screen
Choose how this device will be used before entering the app.
- Station is the main device used at the counter or back office.
- Terminal is the secondary device used by waiter staff.
How to use:
- Open the app.
- Select Station or Terminal.
- Tap to continue.
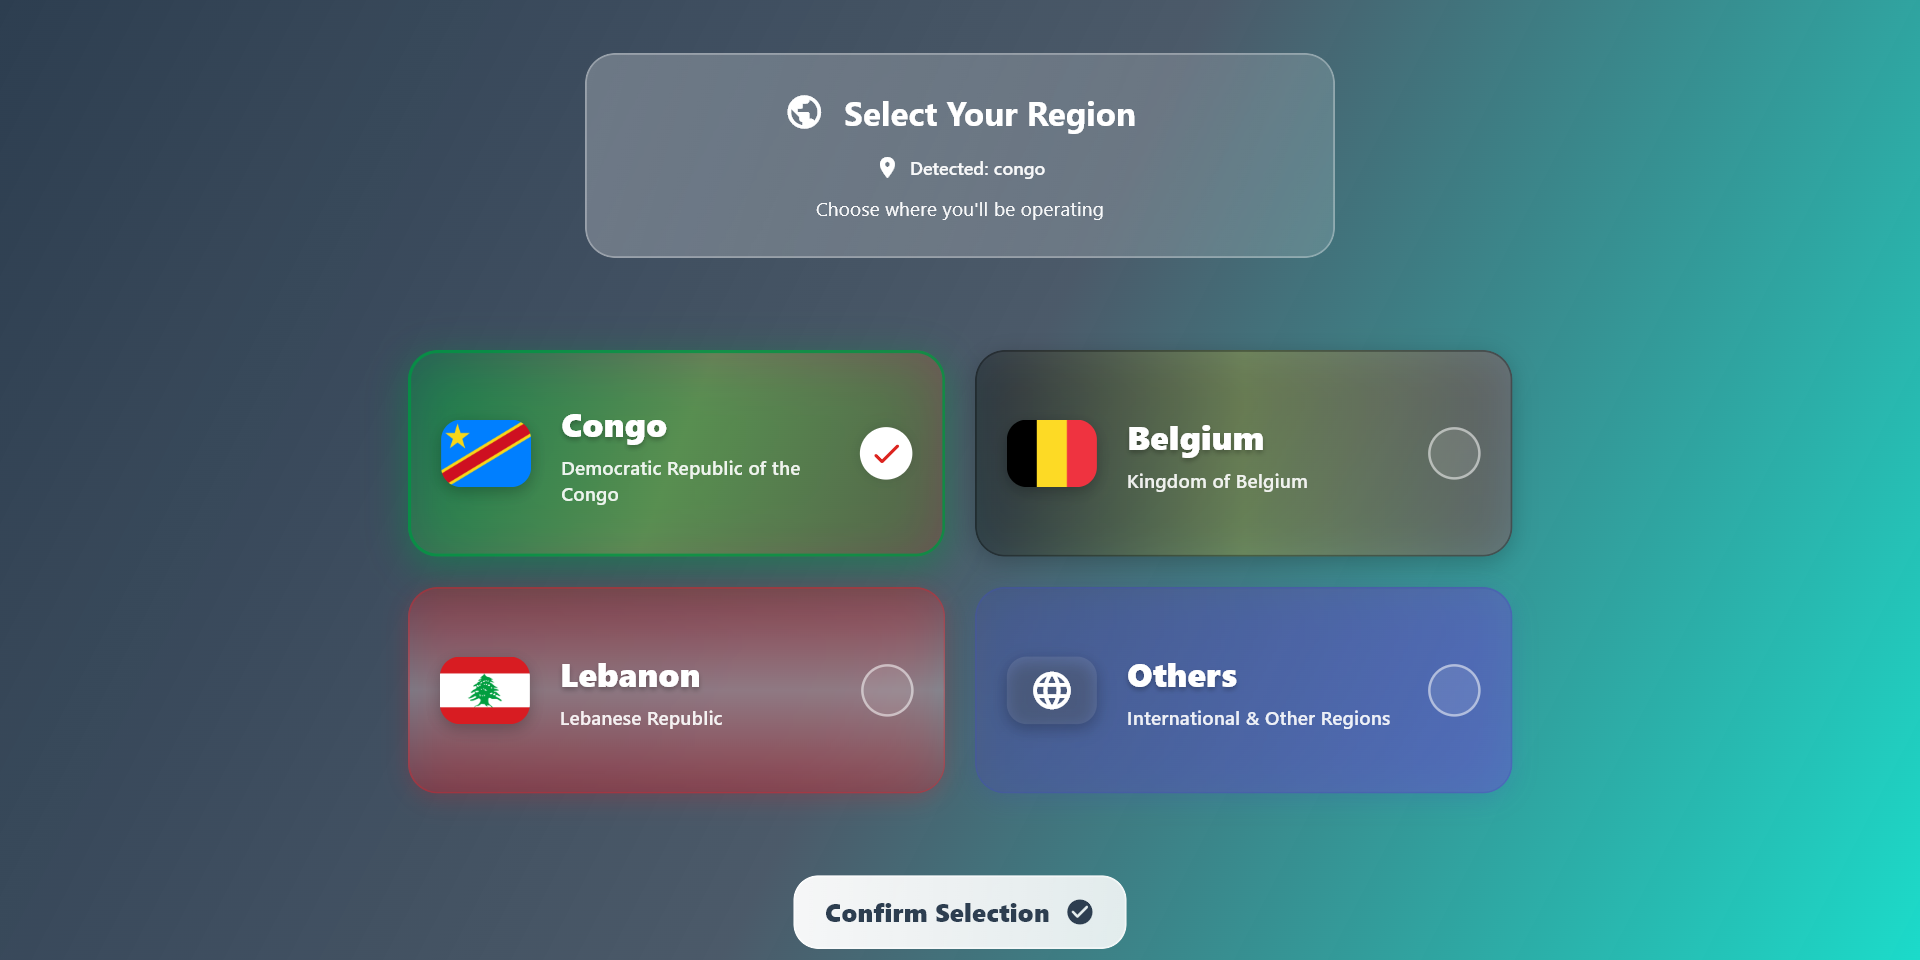
1.2 Region Selection
Pick the region where your business operates so the app can follow the right sales flow.
- Congo
- Belgium
- Lebanon
- Others
How to use:
- Select one region.
- Review the detected region if it appears.
- Tap Confirm Selection.
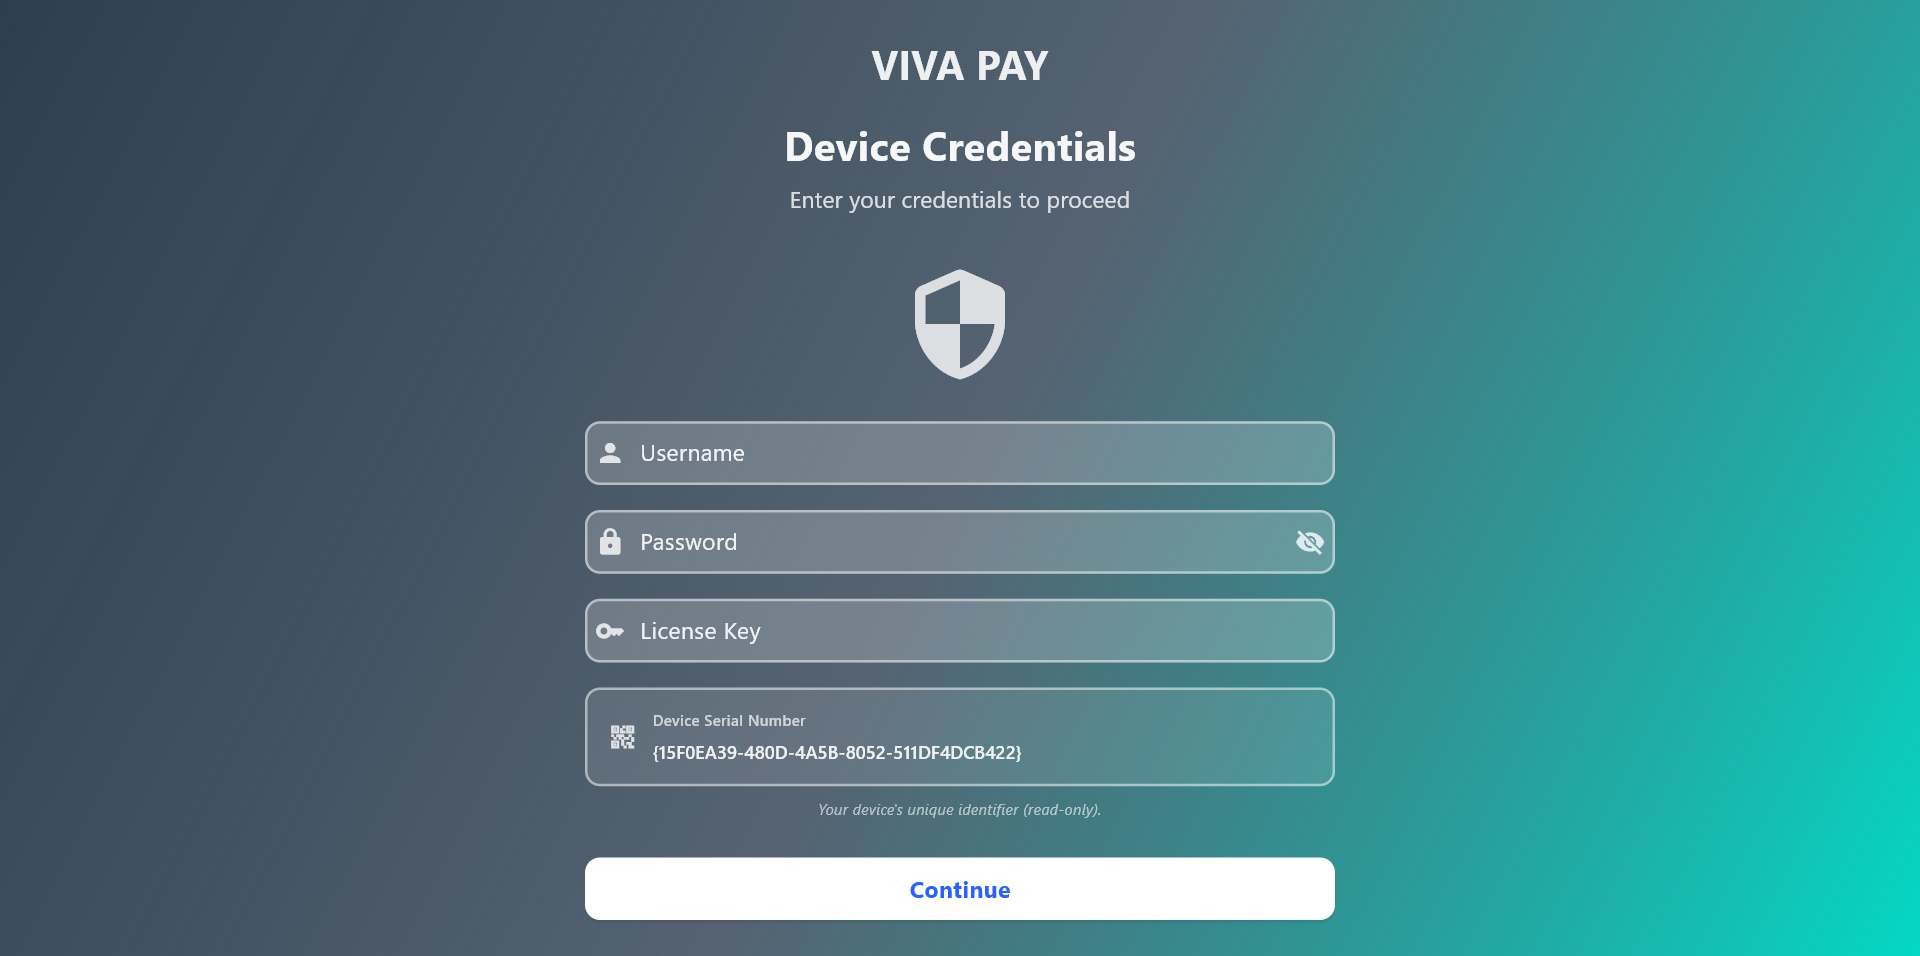
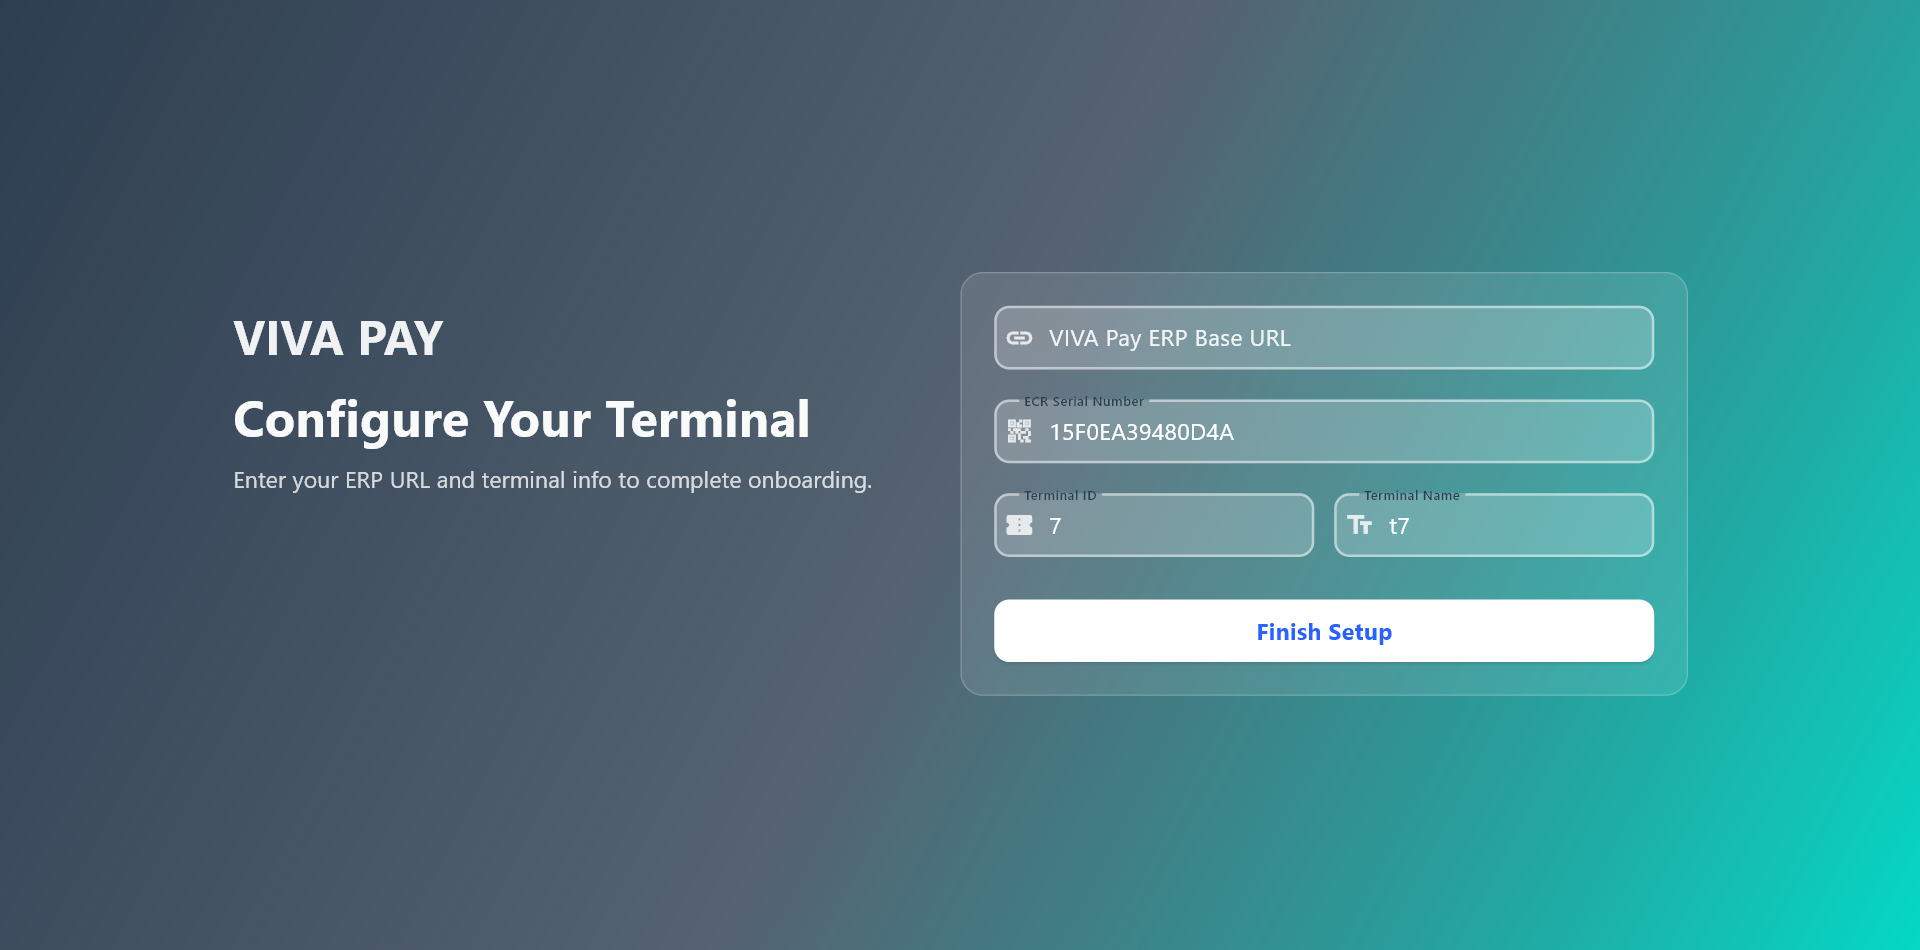
1.3 Authentication
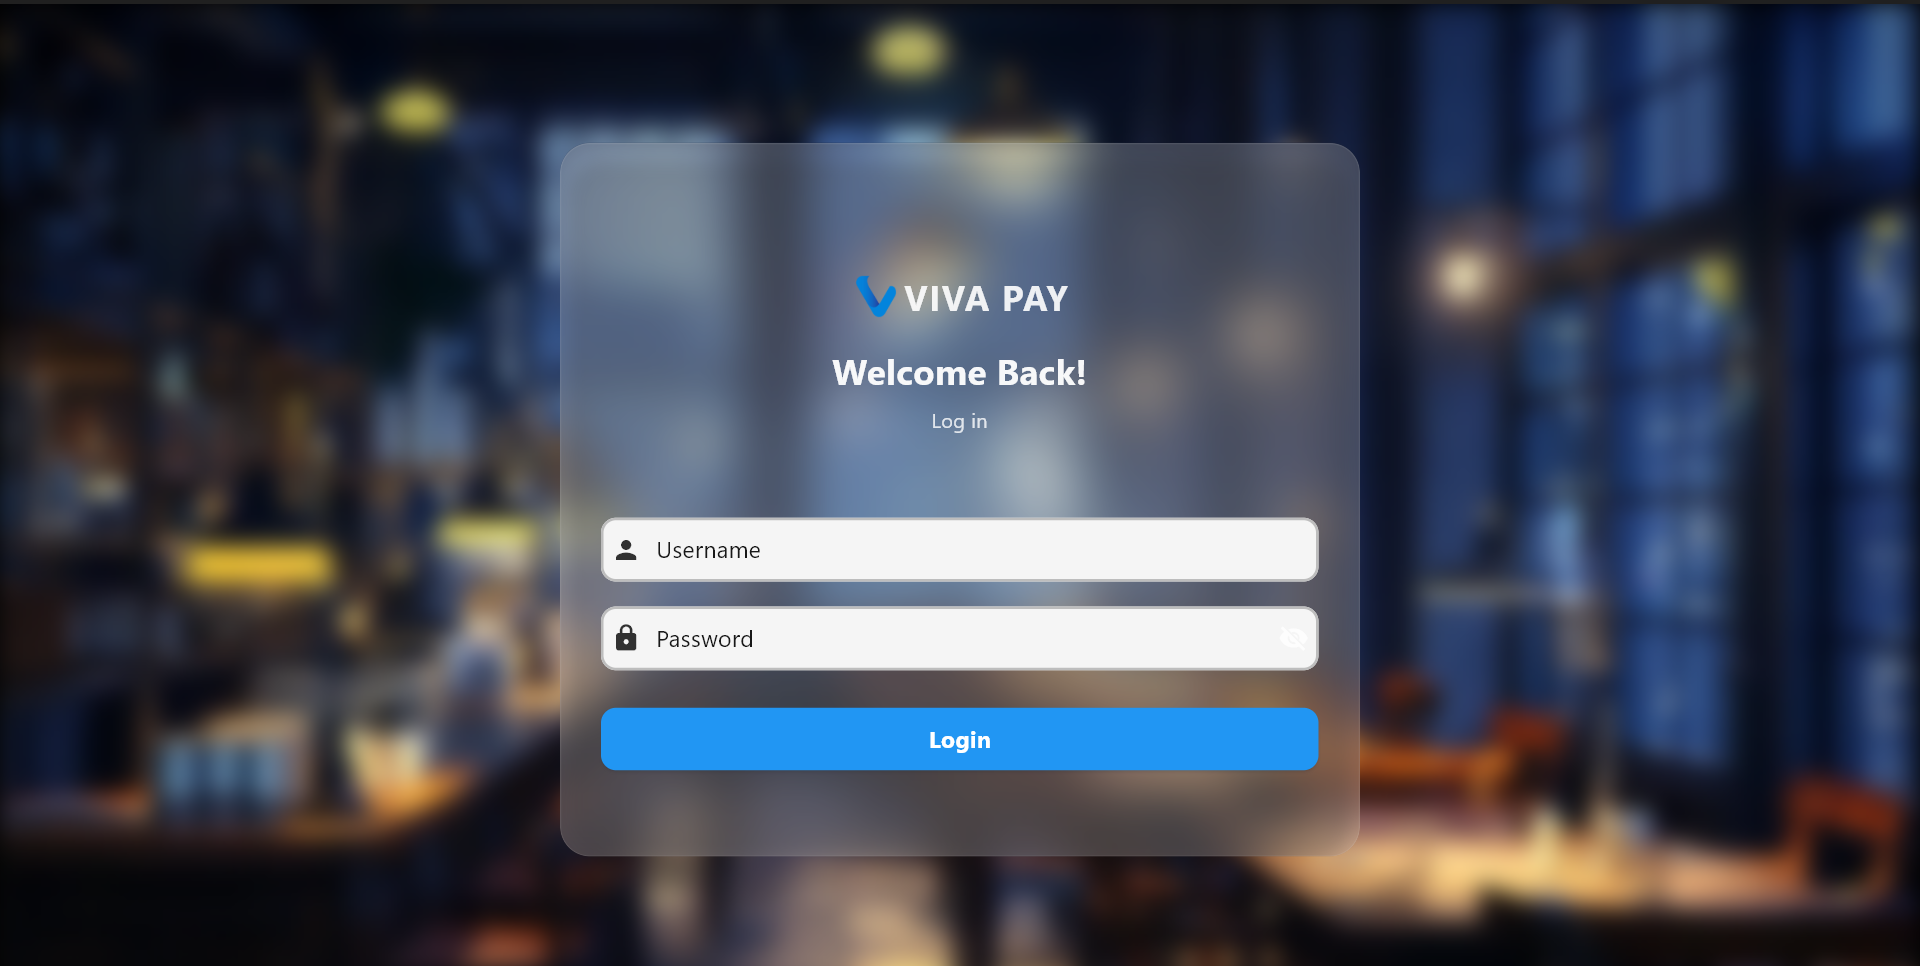
Authentication appears before entering the app and confirms that the right user or device is signing in.
What you may see:
- A user login screen for staff access
- A device credentials screen for first-time setup or device access
How to use:
- Enter the required credentials.
- Check that the details are correct.
- Continue to open the app.
2. Selecting the terminal
2.1 Device Mode Selection
Selecting Terminal mode allows this device to connect to a main Station device and work as a secondary POS terminal.
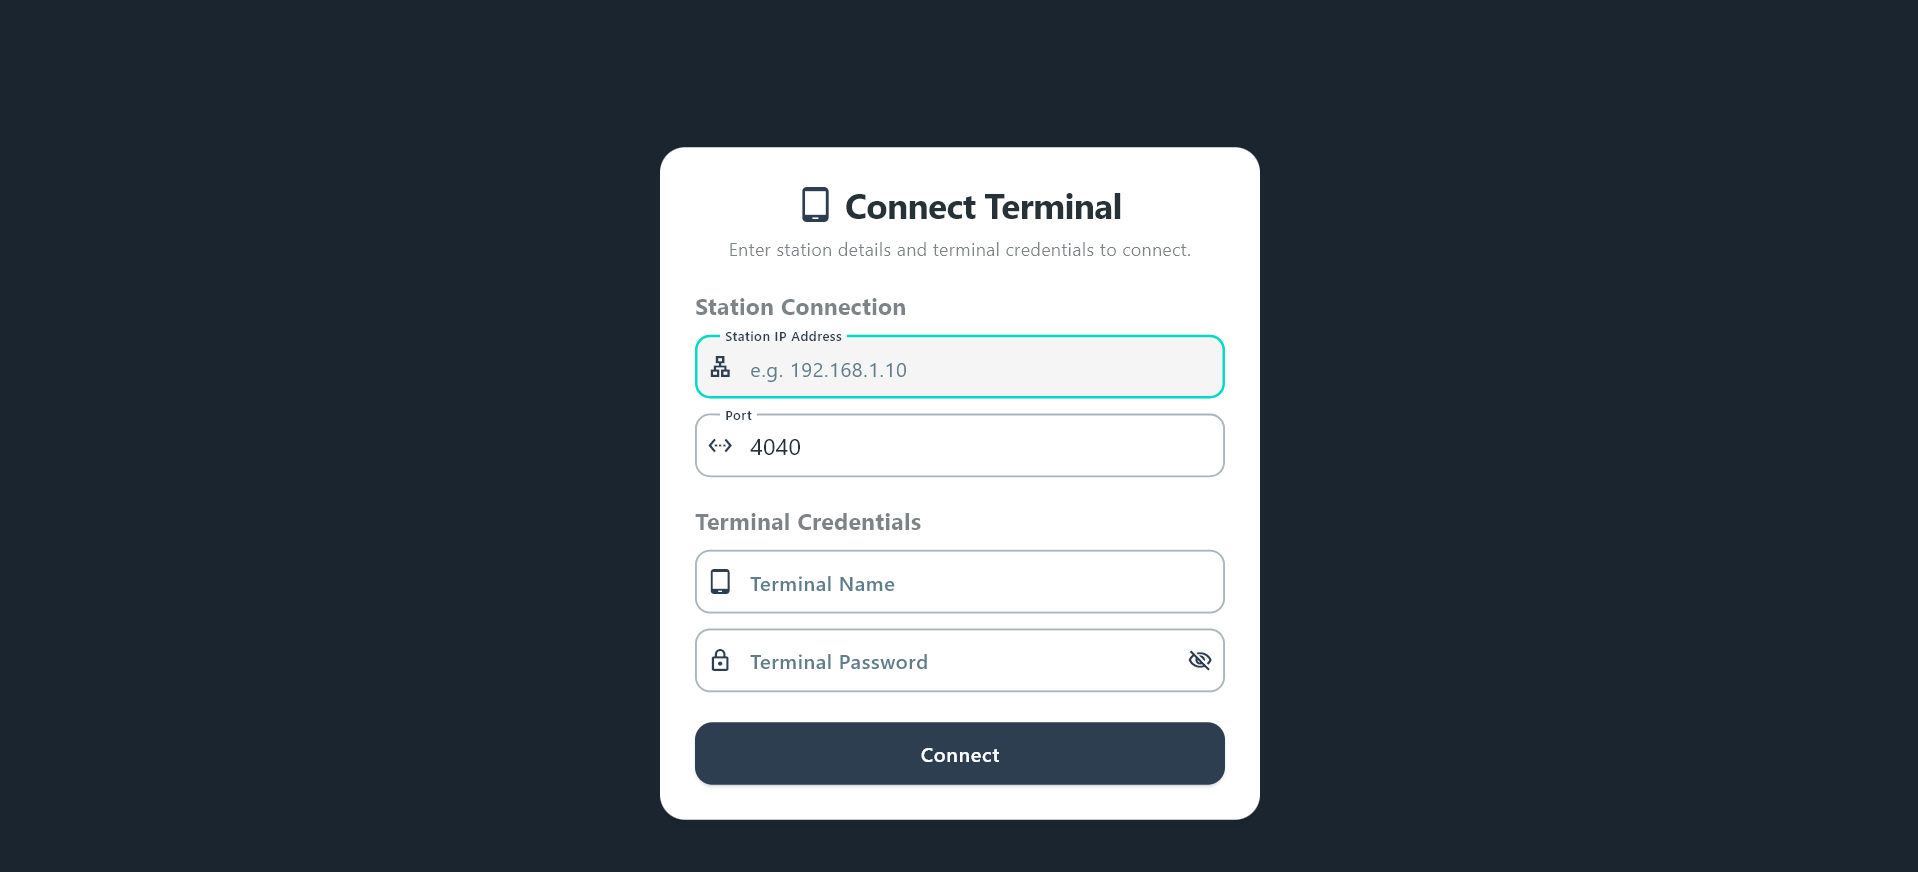
2.2 Connect Terminal
Entering the Station IP address, port, terminal name, and password to connect this terminal to the Station device.
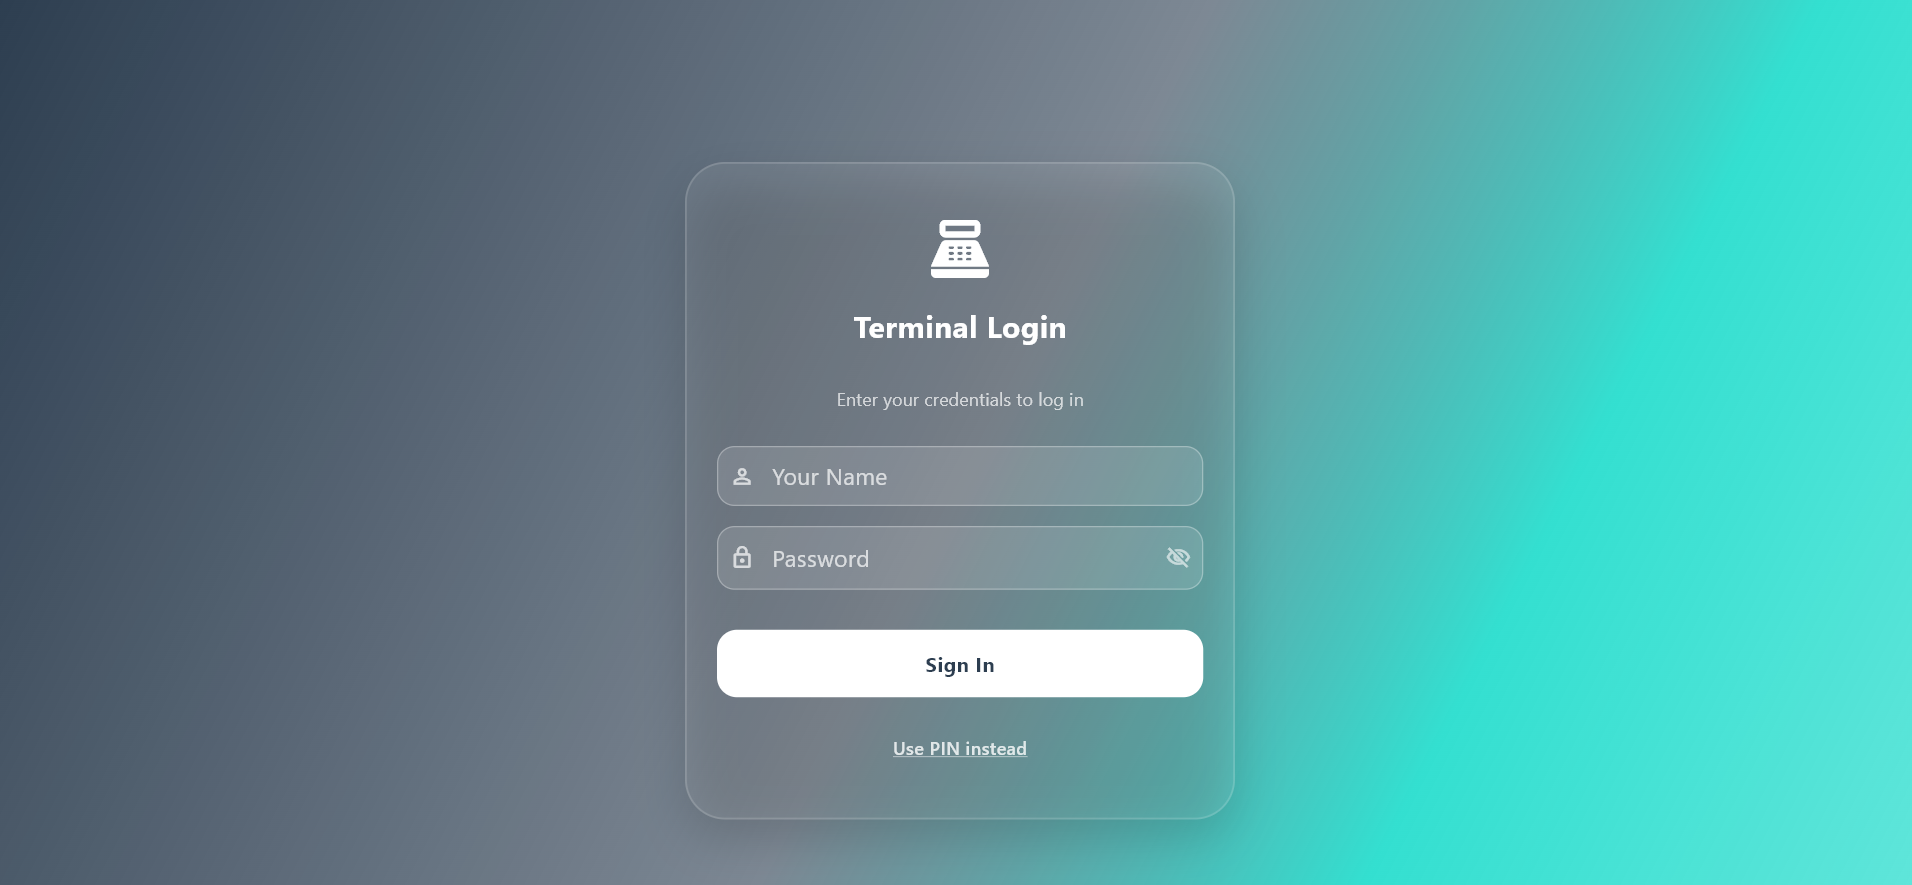
2.3 Terminal Login
Logging in to the connected terminal using username/password or PIN before accessing POS features.
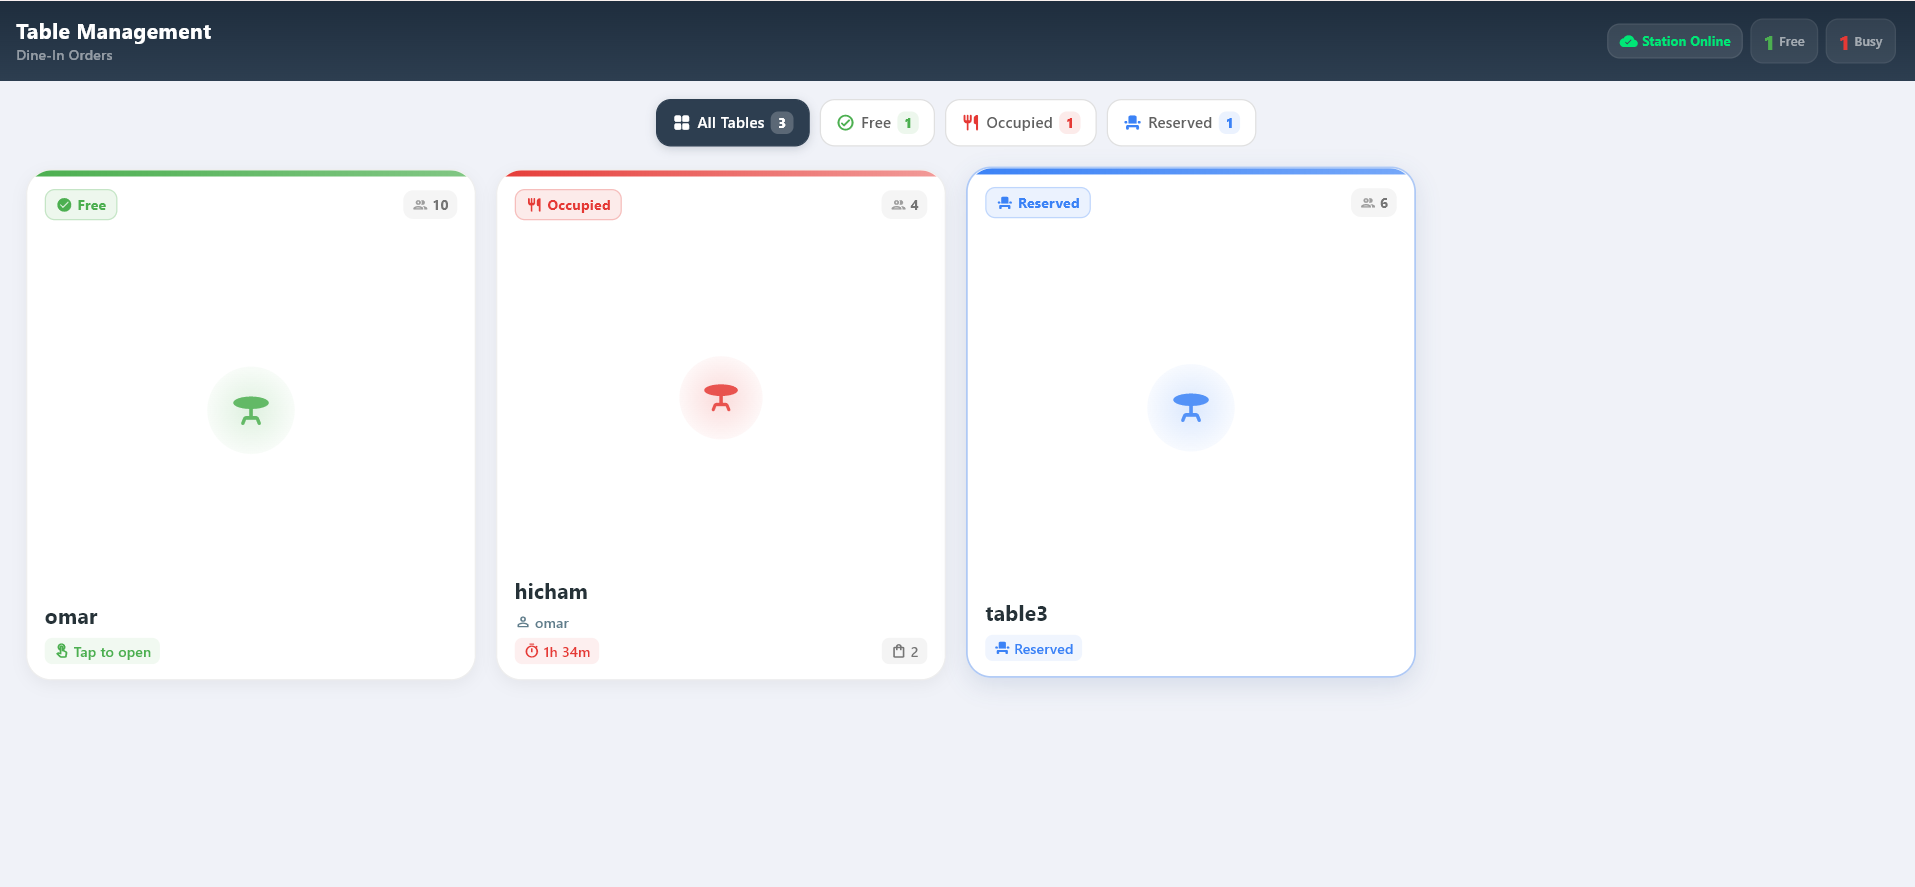
2.4 Table management
Viewing dine-in tables from the Station, including free, occupied, and reserved table statuses.
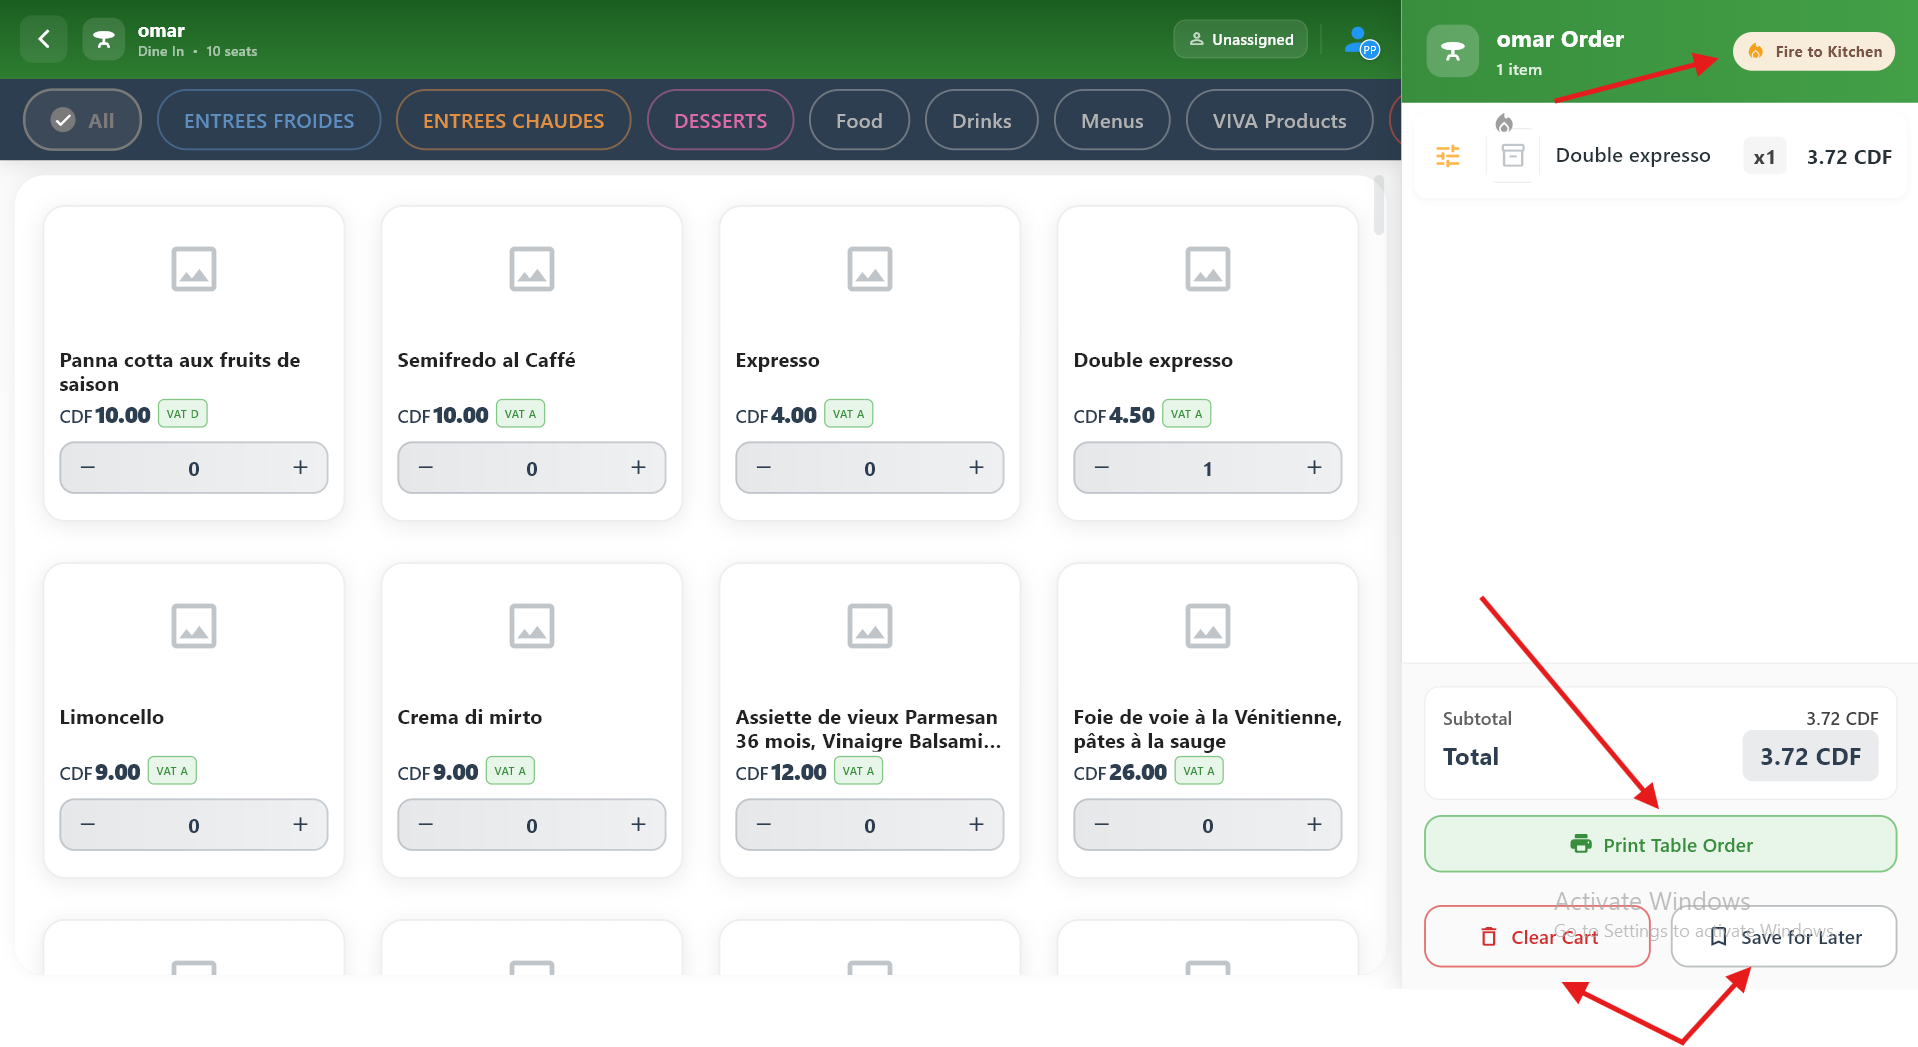
2.5 Terminal POS Order
Adding items to a table order from the terminal, then sending the order to the kitchen, printing the table order, saving it for later, or clearing the cart.